
Handheld LiDAR SLAM Guidance
From First Scan to Professional Deliverable
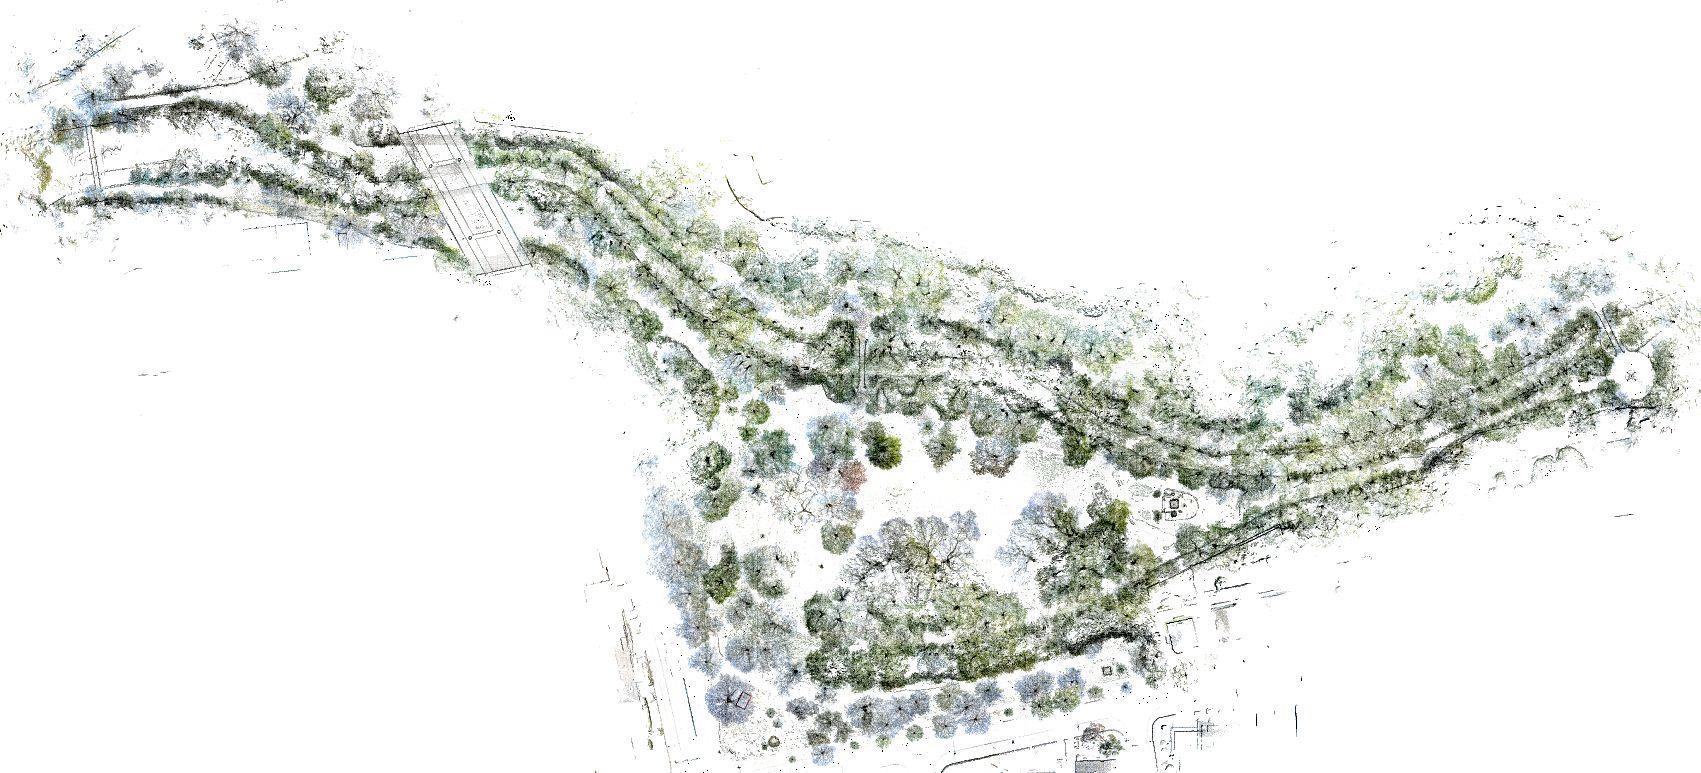
A free, 55-page, vendor-neutral field guide for handheld SLAM operators—from initialization and loop closure to RTK, ground control, field QA, processing, and final deliverables.
Handheld LiDAR SLAM makes fast, high-density reality capture possible in places where conventional survey workflows may be slow or impractical.
But a scanner is not a magic wand.
The quality of the final point cloud still depends on how well the operator prepares the system, understands the environment, controls movement, maintains useful geometry, closes loops, monitors the trajectory, and validates the data.
This practical guidance brings those lessons together in one place.
It is intentionally vendor-neutral. Rather than focusing on a particular scanner or software platform, it addresses the field practices, operator decisions, common failure modes, and quality-control principles that apply across handheld SLAM workflows.
55 pages · Free field guide · Applicable across handheld SLAM platforms
What You'll Learn
This guide takes you through the complete handheld SLAM workflow—from preparing for the first scan to producing a professional deliverable.
You'll learn how to:
Understand what LiDAR, IMU, cameras, GNSS/RTK, and the SLAM engine each contribute
Reduce trajectory drift and recognize geometrically difficult environments
Plan effective scan routes and loop closures
Improve initialization, movement, and outdoor-indoor transitions
Use RTK and ground control appropriately
Scan challenging environments such as corridors, stairs, open spaces, forests, tunnels, glass, and water
Monitor trajectory and point-cloud quality while scanning
Identify common failure modes before leaving the site
Validate, process, and export professional point-cloud deliverables
Build more consistent operator workflows through practical field procedures
1. Understand What SLAM Is Solving
A handheld LiDAR SLAM system typically combines LiDAR, an IMU, cameras, onboard computing and storage, and—in supported workflows—GNSS or RTK observations.
Each component contributes something different.
LiDAR measures surrounding geometry. The IMU measures motion and changes in orientation. Cameras can provide visual features, imagery, and color information. GNSS or RTK, where supported, can provide an external positioning reference. The SLAM engine combines available observations to estimate the scanner trajectory while simultaneously building a map.
SLAM continuously compares new observations with previously collected information. Short-term alignment estimates movement between observations, while recognized places and loop closures help constrain accumulated trajectory drift.
This is why a successful scan route is more than simply walking through a site.
A good route continually gives the system overlapping, stable, recognizable geometry from which it can estimate motion.
Long featureless walls, repetitive corridors, large open areas, glass, water, crowds, moving traffic, and dense moving vegetation can all make that estimation more difficult.
When the environment provides weaker constraints, operator technique becomes even more important.
2. Prepare Before Pressing Start
Reliable data collection begins before the operator starts walking.
Before each scan:
Check that LiDAR windows and camera lenses are clean
Confirm sufficient battery capacity and storage
Verify the correct project and processing settings
Secure accessories, cables, straps, tablets, and mounts
Confirm the coordinate reference system when georeferenced data is required
Verify RTK/NTRIP configuration where applicable
Prepare the control-point list and layout when GCPs are being used
Then plan the scan route.
Look for identifiable geometry, opportunities to return through previously scanned areas, and natural locations for loop closure.
Open doors before scanning whenever possible. Remove avoidable obstacles. Identify difficult transitions in advance.
For long corridors, campuses, tunnels, forests, or other extended sites, consider dividing the work into manageable scanning sessions with meaningful overlap, rather than treating the entire project as one uninterrupted trajectory.
A few minutes of planning can prevent much longer periods of troubleshooting later.
3. The 10 Golden Rules of Handheld LiDAR Scanning
1. Start static and end static
Keep the scanner steady for the initialization period your system requires. Before ending the scan, hold the scanner steady again where recommended by the manufacturer.
2. Lift slowly and move smoothly
Avoid sudden acceleration, aggressive rotation, unnecessary shaking, or abrupt direction changes.
Smooth motion gives the system more consistent observations from which to estimate its trajectory.
3. Walk at a steady pace
A moderate walking speed—around 1 m/s as a practical field reference—works well in many normal environments.
Slow down when geometry is sparse, transitions are difficult, or the environment demands more careful capture.
4. Keep the LiDAR seeing stable features
Give the scanner persistent geometry to track.
Walls, columns, curbs, furniture, building edges, trees, railings, and other fixed structures can provide useful constraints.
5. Respect the working range
Avoid operating so close to surfaces that the sensor cannot measure them effectively, while also avoiding unnecessary distance from the geometry you need to capture.
The useful working range varies by system and environment.
6. Never obstruct the LiDAR
Keep hands, clothing, straps, tablets, cables, and other equipment away from the sensor field of view.
An operator can unintentionally become one of the largest moving objects in the scan.
7. Open doors first and transition slowly
Whenever possible, open doors before collection begins.
At important thresholds, move deliberately and allow the scanner to observe geometry from both spaces so the system can establish a strong connection between them.
8. Close loops properly
A loop closure is not simply returning somewhere near the starting point.
Re-enter an area containing recognizable geometry and maintain meaningful overlap with previously scanned space. In many field situations, approximately 5–10 m of shared trajectory or common geometry can provide a useful practical reference, although requirements vary by system and environment.
9. Minimize moving objects
Crowds, vehicles, machinery, swaying vegetation, and other changing objects can reduce scene consistency and introduce unwanted points or constraints.
Where possible, scan during quieter periods.
10. Keep scans manageable
A single enormous scan is not always better.
Smaller, well-planned sessions can be easier to inspect, validate, reprocess, merge, and recover if something goes wrong.
4. Adapt the Route to the Environment
No single scan pattern works for every site.
The operator should adapt the route to the environment's geometry and expected failure modes.
Rooms and Corridors
Start where multiple features are visible.
In repetitive corridors, avoid walking only along a perfectly straight centerline. Door frames, corners, furniture, wall features, and small viewpoint changes can provide stronger geometric constraints.
Stairs
Move slowly around landings and elevation transitions.
Whenever possible, let the scanner observe railings, walls, floors, and geometry above and below.
Landings are useful places to slow down and strengthen the connection between levels.
Large Open Spaces and Building Exteriors
Avoid relying on one very large circuit when shorter loops around stable structures are possible.
Where supported, RTK and well-distributed control can strengthen absolute positioning.
However, external positioning does not replace good SLAM geometry.
Forests
Stable tree trunks and terrain can provide useful geometry, but dense foliage and wind-driven movement can reduce scene consistency.
Walk deliberately, maintain route overlap, keep loops manageable, and monitor quality carefully.
Tunnels and Underground Spaces
Long tunnels can create weak geometry and limited opportunities for conventional loops.
An out-and-back trajectory can help the scanner revisit common geometry. Intermediate loops and surveyed control can further strengthen the workflow where practical.
Glass, Water, and Reflective Surfaces
Glass and water can produce missing points, reflections, or phantom geometry.
Change the viewing angle where possible and avoid relying on reflective surfaces as the primary source of geometric constraint.
Low light does not necessarily prevent LiDAR ranging, but it may reduce the quality of camera-derived features or color information.
5. Watch the Scan While It Is Happening
The live preview is not just a visualization.
It is a field quality-control tool.
While scanning, watch for:
Continuous coverage
A stable trajectory
Consistent status or quality indicators
Healthy GNSS/RTK status where used
New geometry aligning correctly with previously scanned areas
Missing areas or unexpected occlusions
Sudden jumps or discontinuities
Duplicate or doubled surfaces
Persistent warnings
Investigate visible problems in the field.
If you see a trajectory jump, double wall, obvious misalignment, or other significant anomaly, stopping to assess the problem may save an entire site revisit.
Where resume scanning is supported, resume from a stable, feature-rich area with sufficient overlap to the previous session.
Confirm that the resumed trajectory and geometry align correctly before continuing.
Resume functionality is useful for extending a good dataset—not for hiding a fundamentally corrupted scan.
6. Use Ground Control Deliberately
Ground control can help connect a locally consistent SLAM point cloud to a known project coordinate system.
Depending on the workflow, control can help constrain:
Absolute position
Orientation
Tilt
Scale
Coordinate-system alignment
But control quality matters more than control quantity alone.
Place GCPs on stable, clearly identifiable locations and distribute them across the project area and, where relevant, across different elevations.
Avoid placing every control point along one line, in one corner, or only where access is easiest.
A smaller number of accurate, well-distributed control points can be more useful than many poorly positioned or ambiguous points.
Where project requirements allow, retain one or more surveyed points as independent check points rather than using every available point in the adjustment.
This lets you evaluate final accuracy independently instead of relying only on adjustment residuals.
7. From Raw Scan to Professional Deliverable
Post-processing should begin with validation, not export.
Before creating the final deliverable, inspect:
The reconstructed trajectory
Loop-closure performance
Control-point residuals
Independent check points where available
Missing or incomplete areas
Duplicate surfaces
Obvious trajectory deformation
Color alignment
Processing warnings and reports
Select processing settings appropriate to the environment and your specific software.
Indoor, outdoor, feature-rich, sparse, underground, or other scenes may benefit from different processing strategies depending on the system.
Then generate the deliverables required by the project.
Common formats include:
LAS / LAZ — widely used for point-cloud exchange and geospatial workflows
E57 — commonly used for interoperable 3D scanning workflows
PLY / PCD — useful in visualization, research, robotics, and other point-cloud applications
RCP / RCS — commonly used in Autodesk-based CAD and BIM workflows
Vendor-native formats — may preserve additional project or processing information
For workflows such as 3D Gaussian Splatting, remember that image quality, camera coverage, exposure consistency, and smooth motion can be just as important as the geometry itself.
8. A Simple Recovery Mindset
When a point cloud looks wrong, do not immediately change every available setting.
Start with the symptom.
Skewed or deformed geometry
Investigate initialization, trajectory estimation, weak geometry, and possible drift.
Layering or double walls
Check whether loop closure or trajectory alignment failed.
Ghosting or duplicated moving objects
Look for people, vehicles, machinery, vegetation, or other objects that changed position during capture.
Color smearing or poor image alignment
Consider excessive movement, insufficient image overlap, lighting, or camera-related limitations.
Missing data
Check sensor range, occlusion, reflective surfaces, route coverage, and whether the required geometry was actually visible to the scanner.
The key is to return to the earliest stage capable of causing the problem:
Field route → Initialization → Capture → GNSS/RTK or Control → Processing → Manual Cleanup
If the trajectory itself is fundamentally wrong, rescanning a short section correctly is often faster and more reliable than trying to repair a severely damaged dataset in post-processing.
Practical Guidance, Not Universal Specifications
Handheld SLAM systems differ in sensor architecture, field of view, LiDAR range, IMU performance, camera configuration, GNSS integration, SLAM algorithms, processing software, and quality-control tools.
For that reason, treat distances, speeds, overlap values, and workflow examples in this guidance as practical field references rather than universal specifications.
Always follow the documentation and project requirements applicable to your specific scanner, software, coordinate system, and required accuracy standard.
Recognized by an Industry Surveying Expert
Gavin Schrock, PLS, a surveyor, technology writer, and consulting editor for GoGeomatics, reviewed the guide.
He described it as:
“Timely, comprehensive, and very well put together. Even experienced SLAM jockeys could find this helpful.”
Gavin also highlighted one of the guide's key principles: its vendor-neutral approach, noting that the guidance is designed to apply broadly across handheld SLAM systems, rather than favoring any particular scanner or manufacturer.
Read Gavin Schrock's full article on GoGeomatics:
https://gogeomatics.ca/slam-guide/
Download the Complete 55-Page Field Guide
This webpage covers the core principles.
The complete 55-page Handheld LiDAR SLAM Guidance: From First Scan to Professional Deliverable goes further, with detailed field procedures and reference material for operators, surveyors, reality-capture professionals, trainers, and teams building repeatable SLAM workflows.
Inside the complete guide:
Detailed scanning scenario playbooks
Drift and degeneracy guidance
Loop-closure strategies
RTK and outdoor scanning workflows
Ground-control planning and layouts
Outdoor-indoor transition guidance
Pre-capture preparation
Processing and quality-control recommendations
Common mistakes and failure modes
Recovery workflows
Operator training recommendations
Practical field checklists
Whether you are learning handheld SLAM for the first time or refining an established workflow, the objective is the same:
capture reliable data in the field, recognize problems early, and produce better deliverables with fewer surprises.
Free · 55 Pages · Vendor-Neutral
Download Handheld LiDAR SLAM Guidance
Also available through the Tersus GNSS Support Center under Mobile Mapping → User Manual.